Understanding the Basics of Artificial Turf Installation
Embarking on an artificial turf installation project marks the beginning of transforming your outdoor space into a lush, green, and low-maintenance area that can withstand the test of time and weather. The process of laying artificial turf, also known as synthetic grass, involves several critical steps that, when followed correctly, ensure a durable and aesthetically pleasing outcome. Understanding the basics of artificial turf installation is essential for anyone looking to replace their natural grass lawn with a more sustainable and less labor-intensive alternative.
At its core, artificial turf installation is about creating a stable and smooth surface that mimics the natural landscape. This involves ground preparation, which is a crucial step to prevent uneven surfaces, water pooling, and to ensure the longevity of the turf. The process includes removing the existing grass, leveling the ground, and laying a foundation that will support the artificial grass. The foundation typically consists of a layer of crushed rock or gravel, which facilitates drainage and provides a firm base for the turf.
Another fundamental aspect of artificial turf installation is choosing the right type of turf. With various options available in the market, it’s important to select a turf that suits your specific needs, whether it’s for residential landscaping, sports fields, or pet areas. Factors such as pile height, density, and color should be considered to achieve the desired look and functionality.
Lastly, proper installation techniques are paramount. This includes accurately cutting and placing the turf, securing it to the ground, and adding infill material to keep the blades upright and enhance the natural feel. By grasping these basic concepts, homeowners and DIY enthusiasts can confidently embark on their artificial grass installation projects, ensuring a successful transformation of their outdoor spaces.
The Benefits of Choosing Artificial Turf Over Natural Grass
Opting for artificial turf over natural grass presents a myriad of advantages, catering to both aesthetic preferences and practical considerations. One of the most compelling benefits is the significant reduction in maintenance efforts and costs. Unlike natural grass, artificial turf does not require regular watering, mowing, or fertilization, making it an eco-friendly and cost-effective alternative. This is particularly beneficial in regions where water scarcity is a concern or for individuals seeking to reduce their environmental footprint.
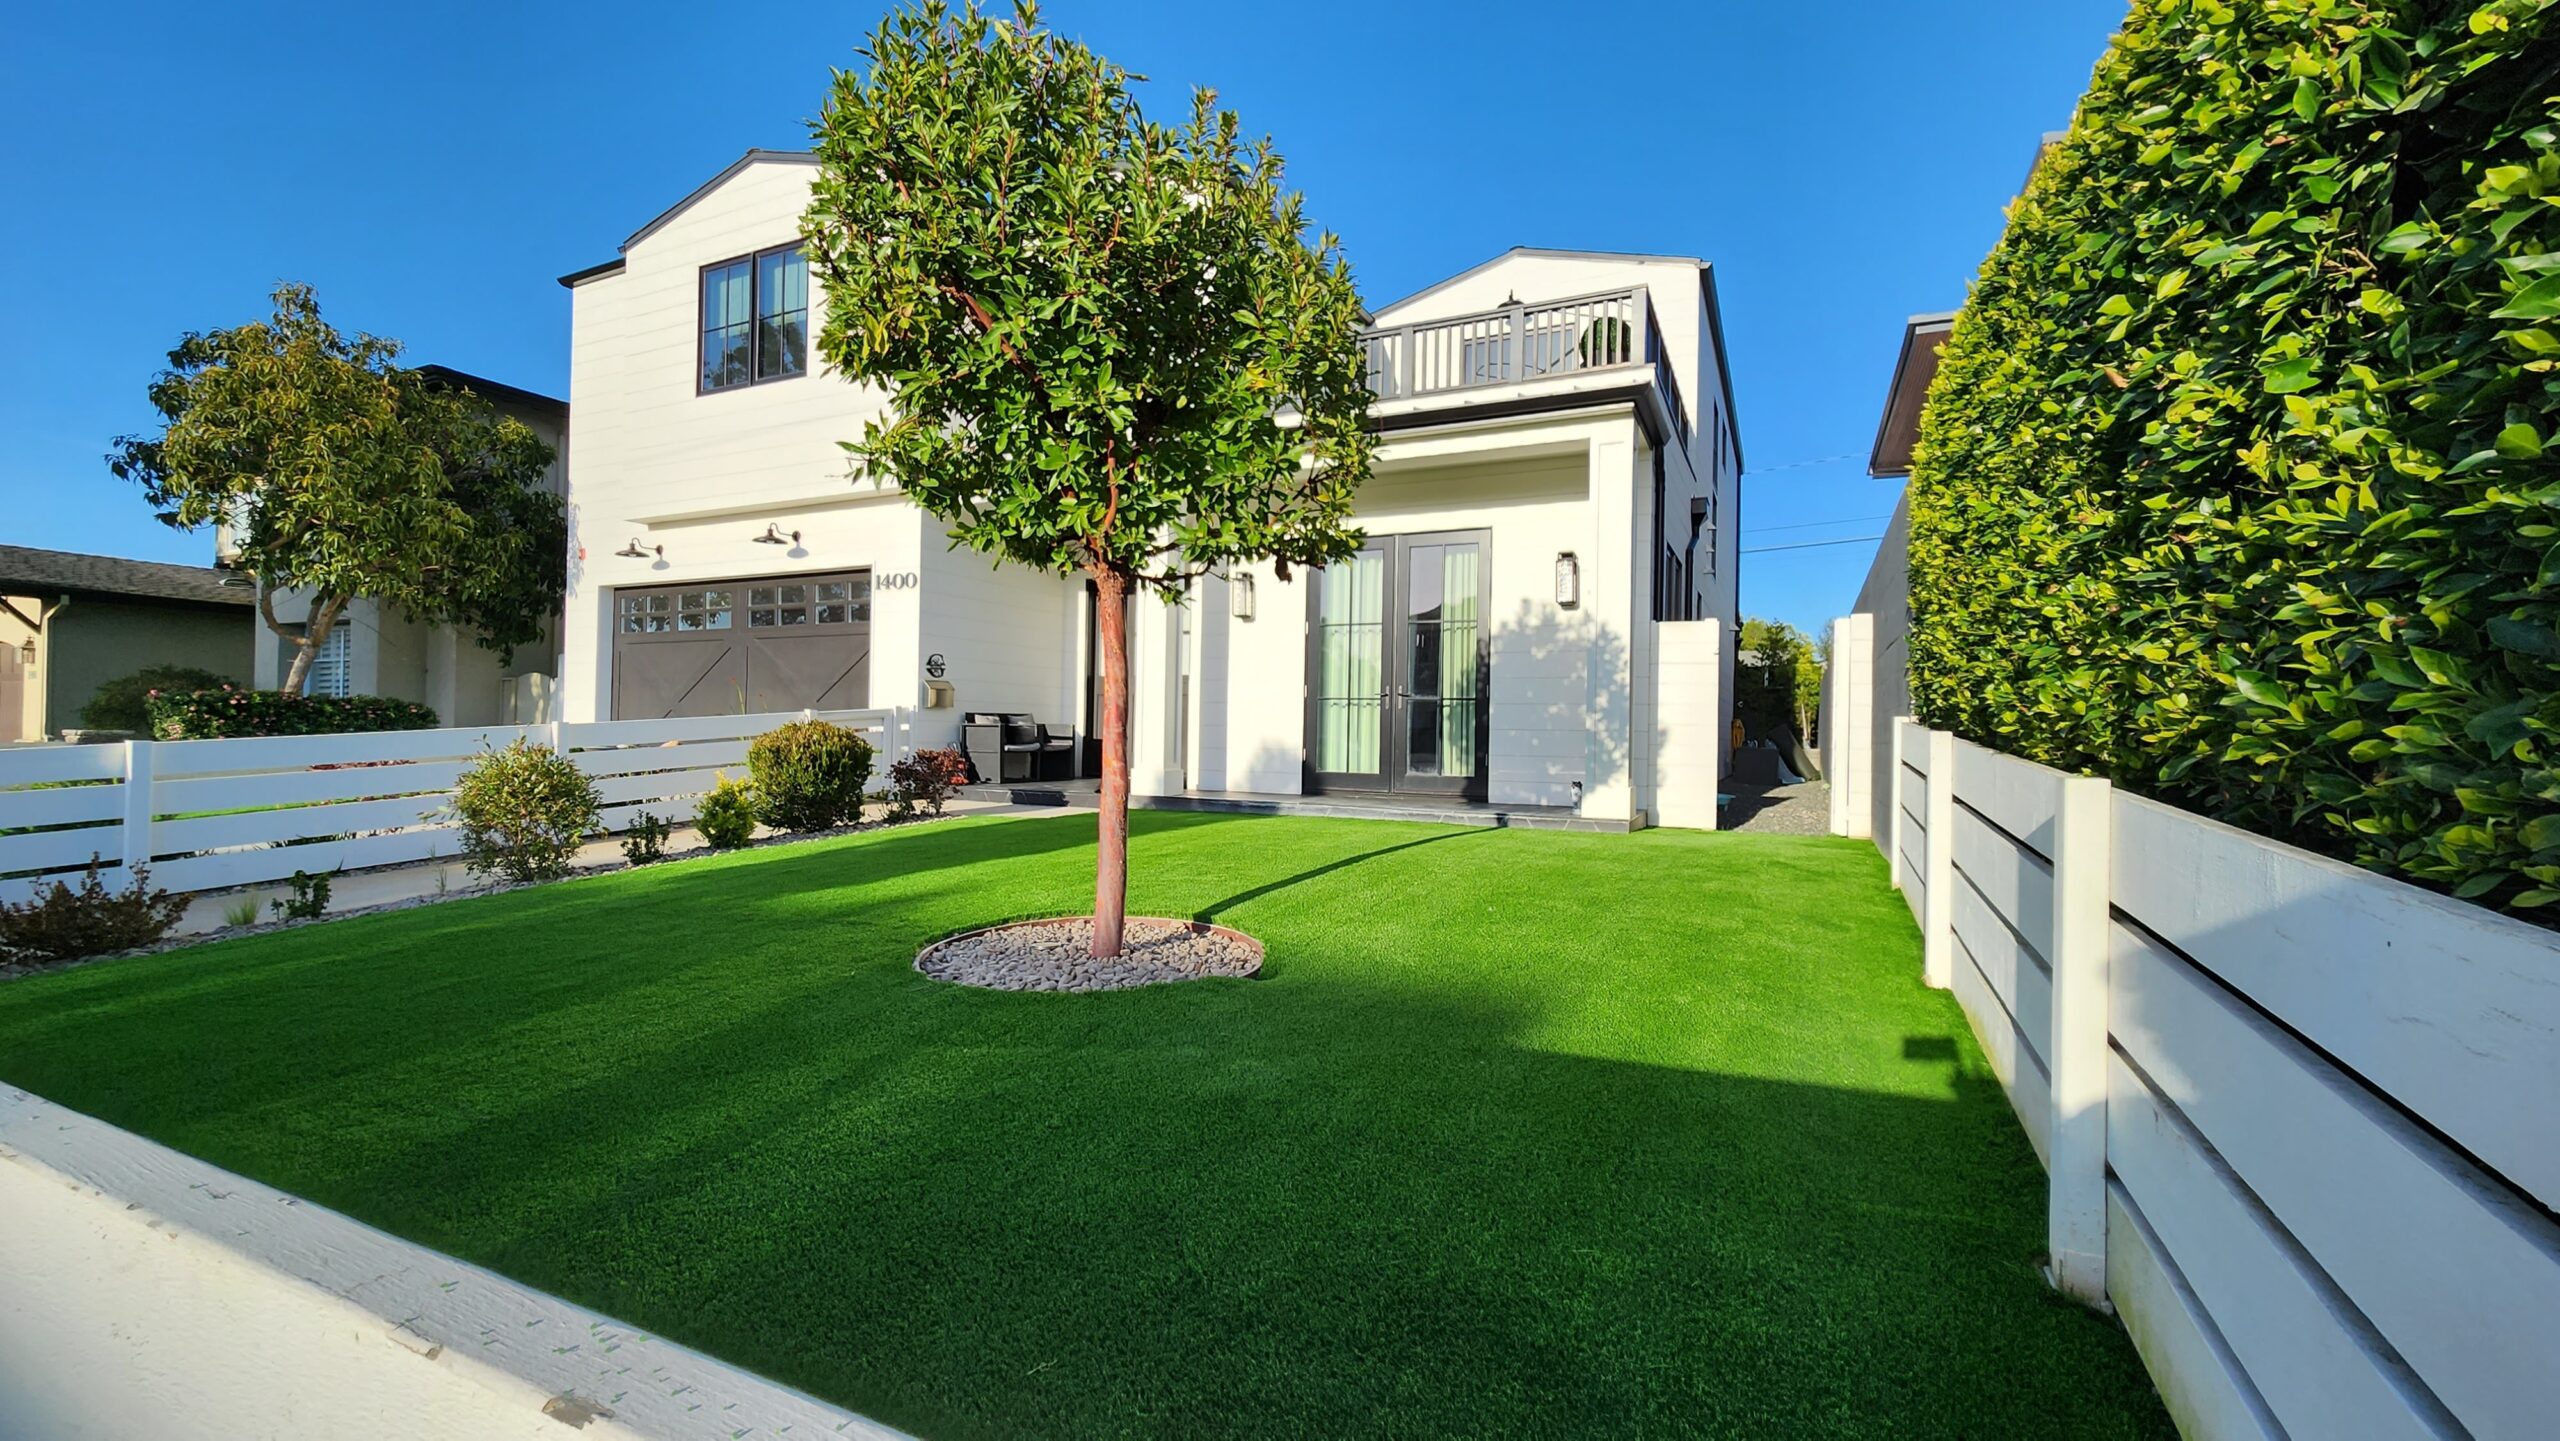
Artificial turf also boasts superior durability and longevity. Designed to withstand heavy use and adverse weather conditions, it maintains its lush, green appearance year-round, without the need for reseeding or patching. This makes it an ideal choice for high-traffic areas, pet owners, and sports facilities. Furthermore, the latest advancements in synthetic turf technology have led to products that closely mimic the look and feel of natural grass, ensuring that homeowners do not have to compromise on aesthetics to enjoy the practical benefits of artificial grass.
Another significant advantage is the versatility and adaptability of artificial turf. It can be installed in a variety of settings where natural grass might struggle to thrive, such as shaded areas, rooftops, and indoor spaces. This opens up new possibilities for landscaping and design, allowing for green spaces in unconventional locations.
Lastly, artificial turf offers a safer playing surface, reducing the risk of injuries associated with uneven grass surfaces or holes. Its consistent surface provides a reliable foundation for sports and play, making it a preferred choice for schools, playgrounds, and recreational areas.
In summary, the decision to choose artificial turf over natural grass brings with it a host of benefits, including reduced maintenance, enhanced durability, aesthetic appeal, versatility, and improved safety. These advantages make it an attractive option for a wide range of applications, from residential lawns to commercial landscapes.
Tools and Materials Needed for Artificial Turf Installation
Before embarking on your DIY artificial grass project, it’s crucial to gather all the necessary tools and materials to ensure a smooth and successful installation. The right equipment can make the difference between a professional-looking lawn and a less satisfactory outcome. Here’s a comprehensive list of what you’ll need:
Measuring Tape: To accurately measure your lawn area and cut the artificial turf to the right size.
Utility Knife: A sharp knife is essential for cutting the turf precisely, especially around edges and obstacles.
Shovel or Turf Cutter: For removing existing grass and leveling the ground, a shovel or a specialized turf cutter will be required.
Wheelbarrow: Useful for transporting waste material and bringing in new base materials.
Rake and/or Landscape Rake: These tools help in leveling and preparing the base for the turf.
Compactor: A hand tamper or a mechanical plate compactor is needed to compact the base material, ensuring a firm foundation for the turf.
Seam Tape and Adhesive: For joining pieces of turf together, seam tape and a strong outdoor adhesive will ensure a seamless look.
Artificial Turf: Of course, you’ll need the artificial grass itself. Make sure to purchase a bit more than your measured area to account for cutting and fitting.
Infill Material: Infill helps to keep the turf blades upright and provides additional cushioning. Options include silica sand, rubber crumb, or other specialized infill materials designed for artificial turf.
Stiff Bristled Broom or Power Broom: After laying the turf, these tools help in spreading the infill and brushing the turf fibers upright.
Gathering these tools and materials before starting your project will help ensure a smoother installation process. Remember, investing in quality tools and materials can significantly impact the longevity and appearance of your artificial turf lawn.
Preparing Your Lawn for Artificial Turf Installation
Before embarking on your DIY artificial grass project, it’s crucial to properly prepare your lawn to ensure a successful installation. Ground preparation for artificial turf involves several key steps that lay the foundation for a durable and visually appealing outcome. First, measure the area where you plan to install the artificial turf. This step is essential for purchasing the right amount of materials. Next, clear the site of any debris, rocks, or existing vegetation to create a smooth surface. This may involve using a sod cutter or shovel to remove existing grass and weeds, ensuring that the ground is as flat and even as possible.
After clearing the area, it’s time to focus on drainage. Proper drainage is critical to prevent water accumulation and ensure the longevity of your artificial turf. Depending on your lawn’s existing drainage, you may need to install a drainage system or make adjustments to the ground’s slope. This step often involves excavating the area to a certain depth and laying a base of crushed stone or gravel, which should be compacted and leveled to improve drainage and provide a stable foundation for the turf.
Finally, install a weed barrier fabric over the prepared ground. This barrier prevents weeds from growing through your artificial turf while allowing water to drain through. Cut the fabric to fit your area and secure it with landscape staples. With these preparations complete, your lawn is now ready for the next phase of your artificial turf installation project.
Removing Existing Grass: Step-by-Step Guide
Removing the existing grass is a crucial step in the artificial turf installation process. It ensures that the base for your new lawn is smooth and ready for the layers that will support your artificial grass. Here’s a comprehensive guide to help you remove grass effectively:
Step 1: Mark the Area – Begin by clearly marking the area where you plan to install artificial turf. Use spray paint or garden hoses to outline the space accurately. This step helps in ensuring that the removal process is contained only to the areas where artificial turf will be laid.
Step 2: Water the Lawn – Watering the lawn a day before removal can make the process easier, as moist soil is easier to work with than dry, compacted ground. However, avoid overwatering as it can make the area muddy and difficult to manage.
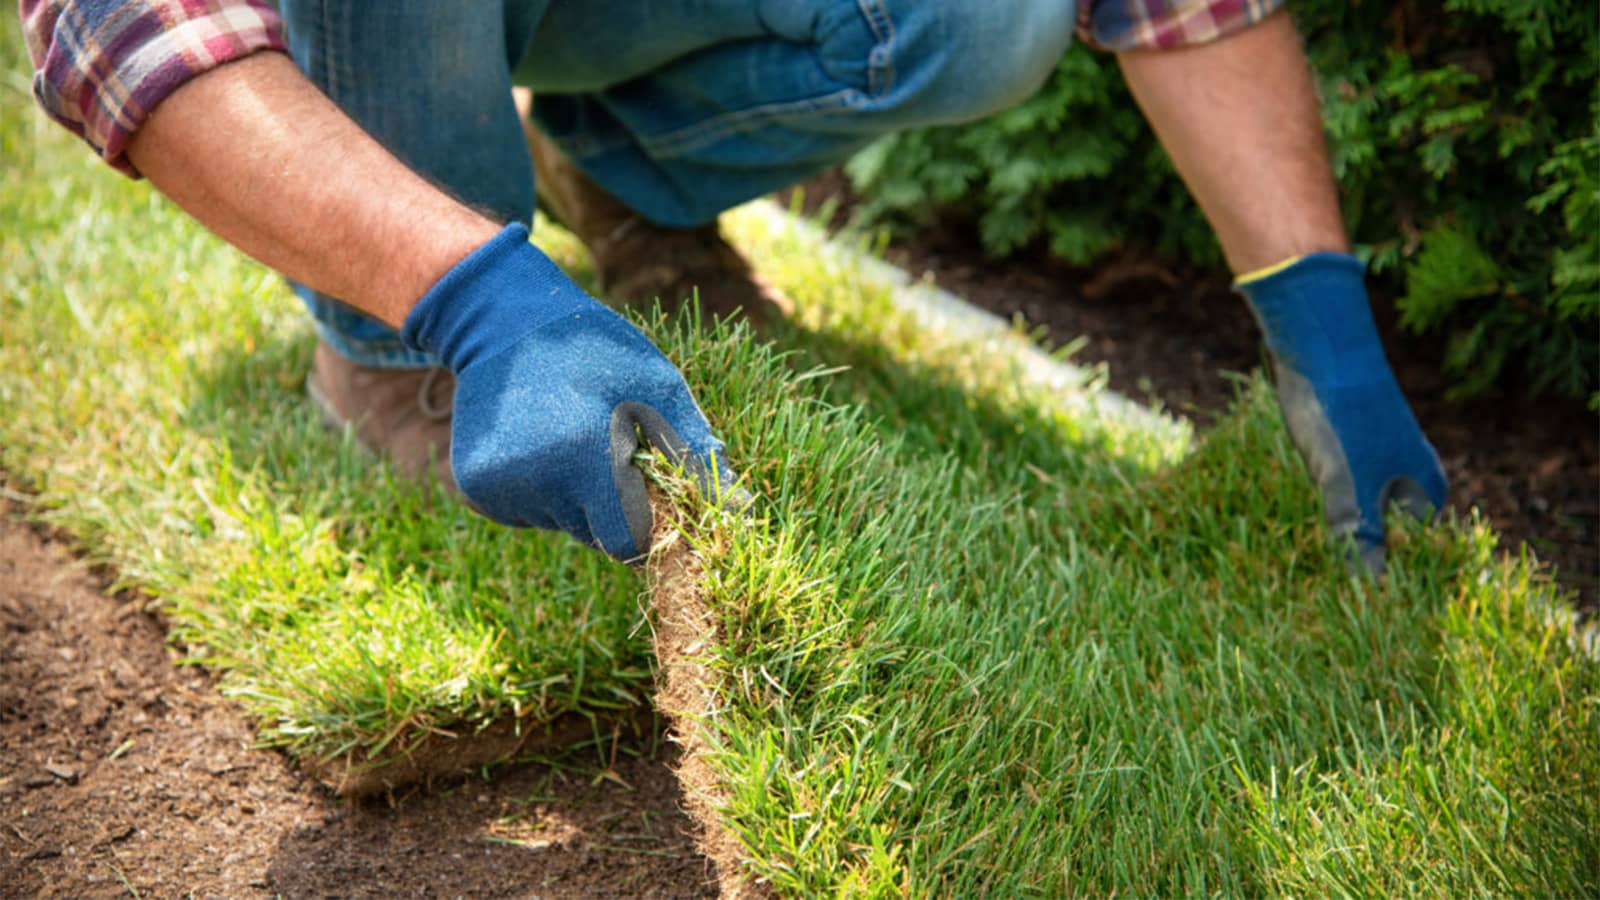
Step 3: Cut into Sections – Using a sod cutter or a spade, cut the grass into manageable sections. This technique makes it easier to lift and remove the grass. Ensure that you cut deep enough to include the grass roots, which are typically about 2-3 inches deep.
Step 4: Remove the Grass – Lever the cut sections of grass using a spade or a fork, and roll them up. Dispose of the grass properly, or consider repurposing it in other areas of your garden if possible.
Step 5: Clear the Area – Once all the grass is removed, use a rake to clear any remaining debris, roots, or stones. This step is vital for creating a smooth base for your artificial turf.
Following these steps will prepare your lawn for the next phase of the artificial grass installation guide, ensuring a solid foundation for your new, low-maintenance artificial turf lawn.
Laying the Foundation for Your Artificial Turf
Before you can enjoy the low maintenance and evergreen beauty of artificial turf, laying a solid foundation is crucial. This step ensures your artificial grass installation guide leads to a durable and visually appealing outcome. The foundation not only supports the turf but also facilitates drainage, preventing water from pooling on your new lawn.
Start by leveling the ground where your artificial turf will be laid. Remove any large stones, roots, or debris. For optimal ground preparation for artificial turf, it’s recommended to use a compacting tool or roller to firm the soil, creating a stable base. This process might require several passes to achieve the desired compaction and smoothness.
Next, apply a layer of crushed rock or gravel. This layer should be about 3-4 inches thick, depending on the drainage needs of your area. The crushed rock serves multiple purposes: it aids in drainage, prevents the growth of weeds, and creates a level surface for the artificial turf. Use a rake to spread the gravel evenly and a compactor to ensure it’s firmly in place.
For those embarking on a DIY artificial grass project, it’s essential to ensure the foundation is properly prepared before proceeding. A well-prepared foundation not only extends the life of your artificial turf but also enhances its appearance, making your investment worthwhile. Remember, patience and attention to detail during this phase will result in a more satisfying and long-lasting artificial turf installation.
With the foundation set, you’re now ready to move on to the next steps in your artificial grass installation guide, bringing you closer to a beautiful, maintenance-free lawn that you and your family will enjoy for years to come.
Cutting and Placing the Artificial Turf Correctly
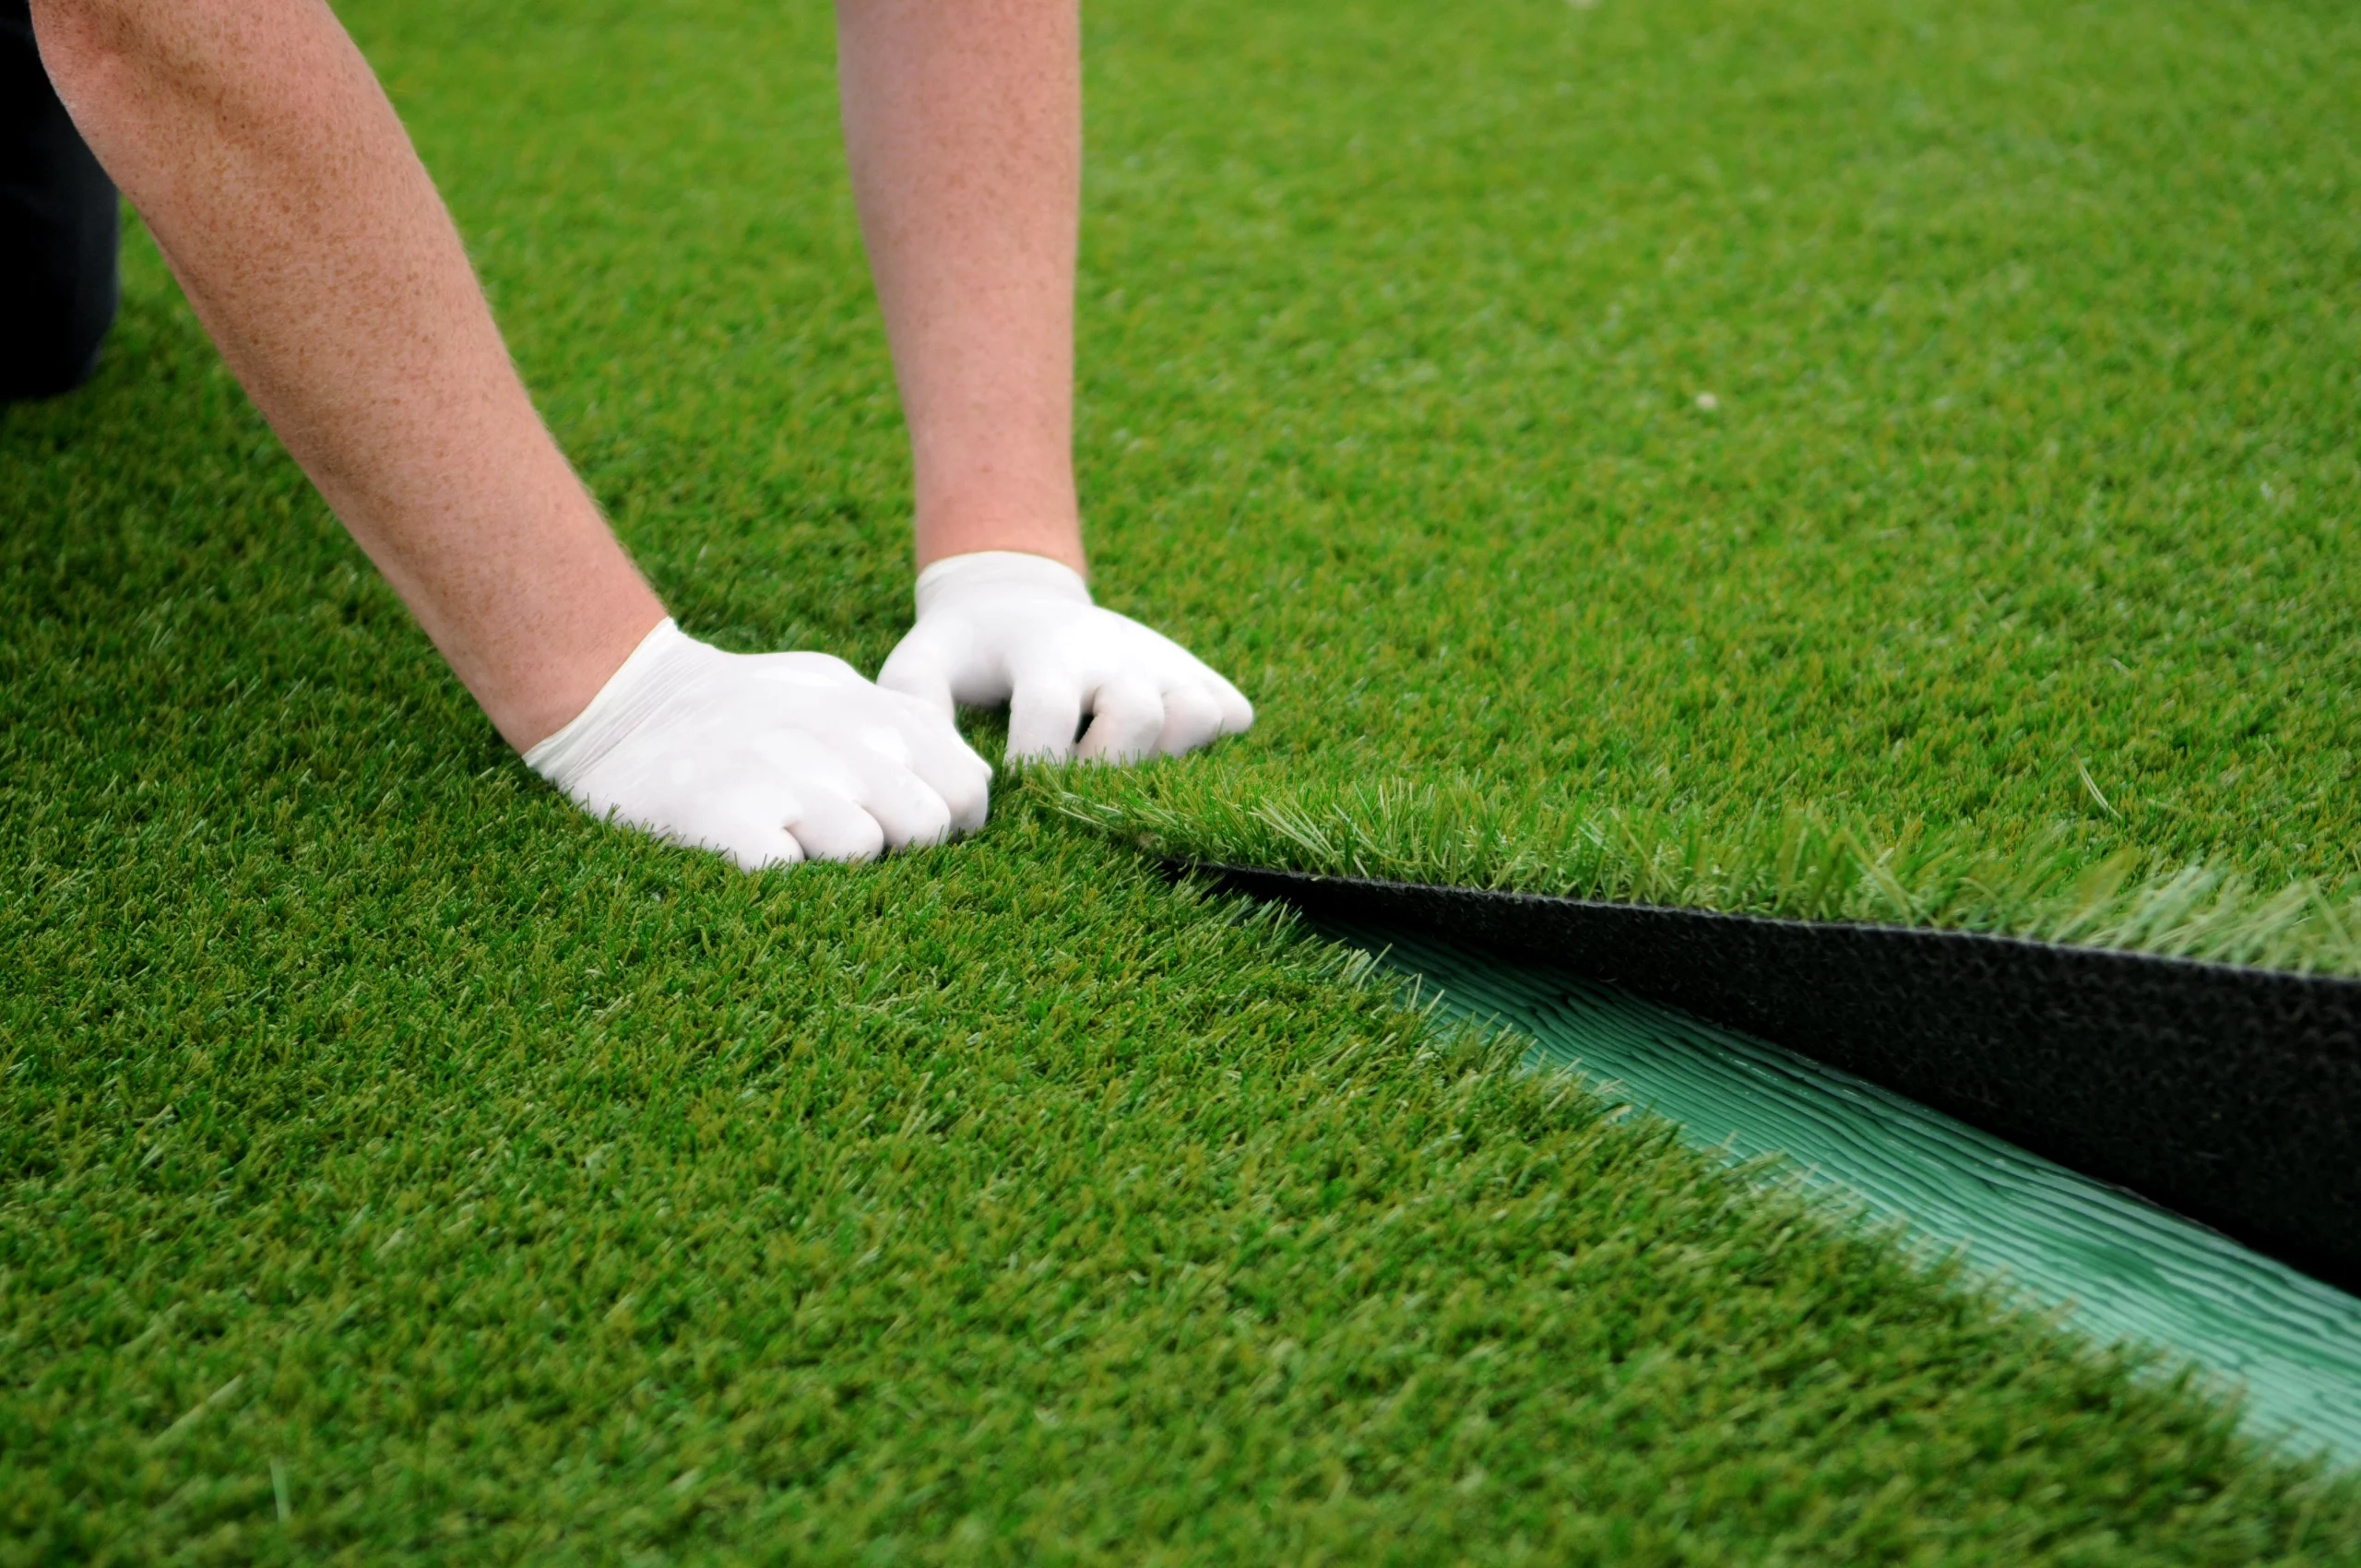
Once your foundation is ready, the next crucial step in your DIY artificial grass project is cutting and placing the turf accurately. This phase requires precision and patience to ensure that the artificial turf fits perfectly in your designated area, providing a seamless and natural look. Begin by rolling out your artificial turf over the prepared area. It’s essential to allow some overlap on all edges to ensure full coverage without any gaps.
Before cutting, double-check the orientation of the turf to ensure the blades of grass all point in the desired direction, typically towards the main viewpoint or the house for a more natural appearance. Use a sharp utility knife with a fresh blade to make precise cuts. It’s advisable to make several light passes rather than trying to cut through the turf in one go. This method reduces the risk of jagged edges and ensures a cleaner cut.
When cutting around obstacles or shaping the turf to fit curved boundaries, take your time to measure and mark the turf accurately. Remember, it’s better to cut less and trim gradually than to cut too much and ruin a section of the turf. After cutting, carefully place the turf sections, ensuring they fit snugly against each other without overlapping or leaving gaps. This step might require adjusting and re-cutting certain areas for a perfect fit.
Securing the edges and seams is crucial for a professional-looking finish, which will be covered in the next steps. However, at this stage, focus on achieving the correct size and shape, ensuring that each piece of turf is precisely positioned for a cohesive and attractive lawn.
Securing the Turf: Tips and Techniques
Securing your artificial turf properly is crucial for ensuring its longevity and maintaining its aesthetic appeal. This step is about making sure the turf stays in place, looks natural, and withstands various weather conditions. Here are some essential tips and techniques for effectively securing your artificial turf.
Firstly, it’s important to use the right type of adhesive or seaming tape specifically designed for artificial turf installation. This will help to join sections of turf together seamlessly, preventing them from lifting or separating over time. Apply the adhesive or tape along the seams, pressing down firmly to ensure a strong bond.
Next, consider using U-shaped turf nails or staples to anchor the turf to the ground. These should be spaced appropriately, usually around 4 to 6 inches apart along the edges and seams of the turf. For areas that receive high foot traffic or are subject to strong winds, you may need to place the nails closer together to provide extra stability.
When securing the turf around the perimeter, be sure to pull the edges tight to avoid any wrinkles or folds. This will give your artificial lawn a smooth, natural appearance. If your turf includes a weed barrier, make sure it’s also secured properly to prevent any movement.
Finally, brushing the turf fibers upright with a stiff broom or a specialized turf brush can also help to secure the infill, which adds weight to the turf and keeps it in place. Regular maintenance, including periodic brushing and adding more infill as needed, will ensure your artificial turf remains secure and looks its best for years to come.
By following these tips and techniques, you can confidently secure your artificial turf, creating a durable and attractive outdoor space.
Adding Infill to Your Artificial Turf for a Natural Look
Once your artificial turf is securely in place, the next step to ensure its longevity and natural appearance is adding infill. Infill plays a crucial role in maintaining the turf’s structure, providing stability to the grass blades, and enhancing its aesthetic appeal. This part of your DIY artificial grass project might seem minor, but it significantly impacts the overall look and feel of your lawn.
There are several types of infill to choose from, each serving a specific purpose. Silica sand, crumb rubber, and organic options like cork or coconut fibers are among the most popular. Silica sand is widely used for its ability to keep the grass blades upright and for its relatively low cost. Crumb rubber, made from recycled tires, offers excellent shock absorption, making it ideal for play areas or sports fields. Organic options, while more expensive, provide an eco-friendly alternative that supports drainage and natural cooling.
Ground preparation for artificial turf is crucial before adding infill. Ensure the base is smooth, compact, and free of debris. When spreading the infill, use a drop spreader for even distribution. The amount of infill needed varies based on the turf’s pile height and the type of infill used. Generally, 1-2 pounds of infill per square foot is recommended. After spreading, use a power broom or a stiff-bristled brush to work the infill down to the base of the turf. This process helps the grass blades stand upright and distributes the infill evenly.
Regular maintenance, including periodic addition of infill, can significantly extend the life of your artificial turf. It prevents matting, protects the turf’s backing, and ensures your lawn remains lush and inviting for years to come. By following these artificial turf maintenance tips, you’ll enjoy a beautiful, low-maintenance lawn that looks and feels natural.
Maintenance and Care for Your New Artificial Turf Lawn
Once your artificial turf is successfully installed, maintaining its lush and vibrant appearance requires minimal but consistent care. Unlike natural grass, artificial turf doesn’t need watering, mowing, or fertilizing, making it an eco-friendly and low-maintenance option for homeowners. However, to ensure its longevity and aesthetic appeal, follow these artificial turf maintenance tips.
Firstly, regular brushing is essential to keep the fibers standing upright and to prevent matting. Use a soft-bristled brush or a broom and gently brush against the grain of the turf. This should be done at least once a month or more frequently in high-traffic areas. Secondly, although artificial turf is highly durable, sharp objects and heavy furniture can damage the fibers. Avoid placing sharp-edged furniture directly on the turf and consider using furniture pads to distribute weight evenly.
Debris and leaves can accumulate on the surface of your artificial lawn, making it look untidy and potentially damaging the turf over time. Use a leaf blower or a plastic rake to remove organic materials. Be cautious not to use metal rakes as they can pull out the fibers. For spills and stains, most can be easily washed away with water. For more stubborn stains, a mild detergent mixed with water can be used. Always test a small, inconspicuous area first to ensure the detergent does not affect the color of the turf.
Lastly, although artificial turf is designed to drain well, occasionally check for any drainage issues. Remove any debris blocking the drainage holes to prevent water from pooling on the surface. By following these simple maintenance and care tips, your artificial turf lawn will remain beautiful, functional, and durable for years to come.